
Details
Description
**3.3 VOLTS ONLY - DO NOT USE 5 VOLTS!**
We recommend an input voltage of 3.3v. The result may not be immediate, but eventually supplying voltage out of component limits will kill it. Always verify prior to install that your system is giving the GPS the voltage you think it is via a multimeter. If your unit dies or fails to operate as you'd expect, this is likely the cause.
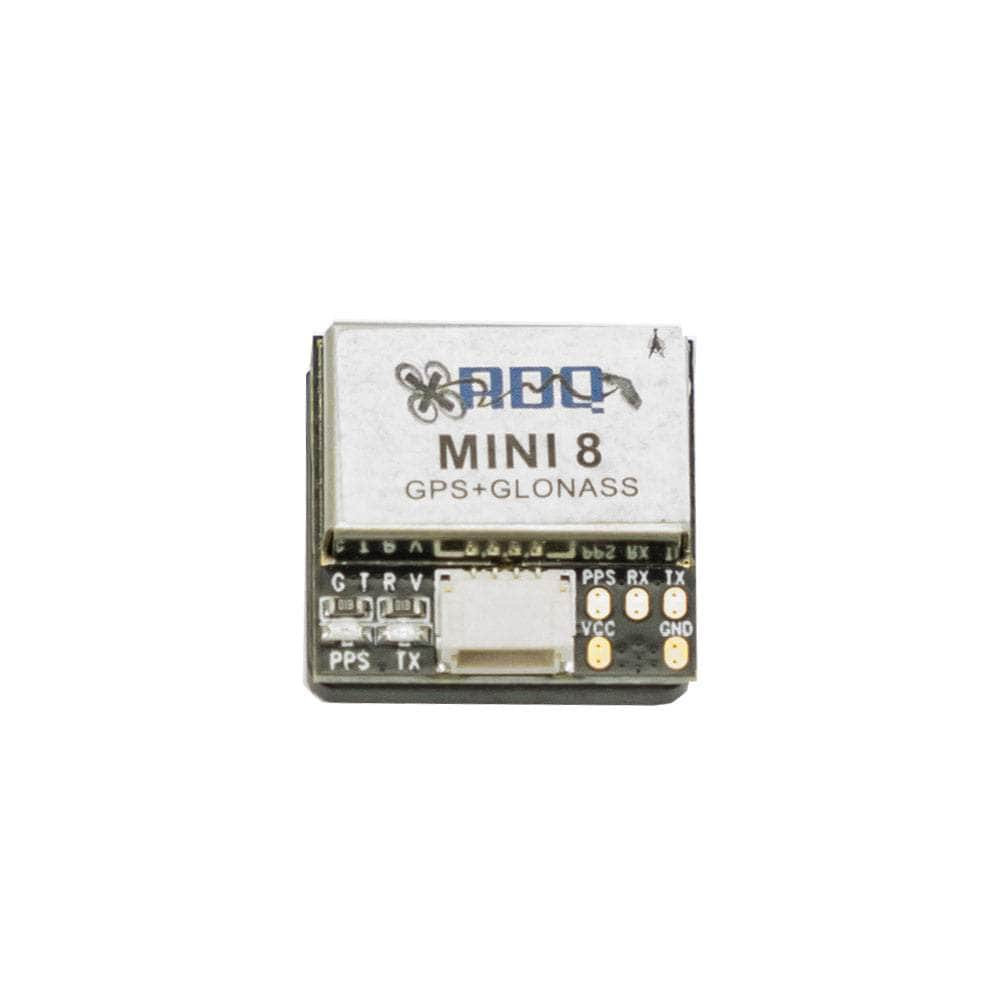
The RDQ Mini M8N GLONASS GPS Module is 18x18mm in size, perfect for any Micro , or add Gps to your racer to add "lost tracker" . Only 6 Grams with cable.
Note: Providing the GPS with over the spec'd voltage WILL destroy your unit.
Check out our GPS selection!
Joshua Bardwell says: "In the video above, I mistakenly power the GPS with 5v. The GPS needs 3.3v power, not 5v. Powering the GPS with 5v will destroy it."
Specifications
- GPS: UBLOX NEO-M8N Mini
- TX LED: blue the data output, TX LED flashing
- PPS LED: red PPS LED not bright when GPS not fixed,flashing when fixed
- Current: Capture 50mA/5.0V
- VCC : DC Voltage 2.7V-3.6V
- Chip used is always the UBX-M8030
- Acquisition Time:
- Cold Start : 26s
- Warm start : 25s
- Hot start : 1s
- UBLOX protocol /NMEA-0183
Receiving Format
- GPS,GLONASS,Galileo,BeiDou,QZSS and SBAS
- Frequency : GPS L1,GLONASS L1,BeiDou B1,SBAS L1,Galileo E1
- Channels : 72 Searching Channel
Includes
- 1x Mini GPS
- 1x Cable
- 1x Adhesive pad
Setup
More information about GPS Rescue Mode
How to add a GPS in Betaflight 3.2
- Latitude
- Longitude
- Distance to home
- Speed
- Arrow pointing home
Then in the configuration tab:
And if everything is wired correctly, when you restart betaflight you should see the GPS indicator light up at the top of the screen. Now there are two things you can do. If you have Betaflight OSD, you probably want to enable gps coordinates, distance to home and direction to home. I also like having the satellite count and gps speed, even though it’s not very accurate. My screen looks like this:
The home arrow indicates that I’m flying mostly away from myself and 145 meters away. The GPS coordinates show that I am in… [left as an exercise for the reader]. The second thing you could do is set up your Taranis to log gps coordinates (assuming your receiver has telemetry, won’t work with an xm+). I won’t cover that now because this is enough for one post, I’ll save it for a future one. Happy flying and hope this saves you from losing a quad or two!
More Information:
- SKU: 691023432161
- Barcode: 691023432161


